Introduction To Devpilot Dashboard and Important Features
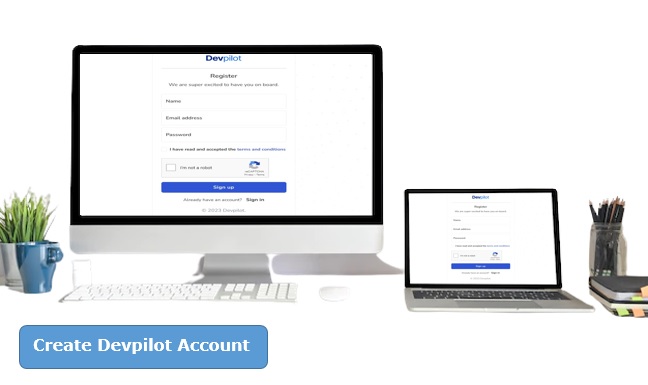
Devpilot Dashboard: As a developer, Devpilot is just the right tool for you as you’ll be wowed by the amazing features it contains. But to access the Devpilot tool, you must have a Devpilot account. fortunately, we have made available a step-by-step guide to help you easily create an account on Devpilot.
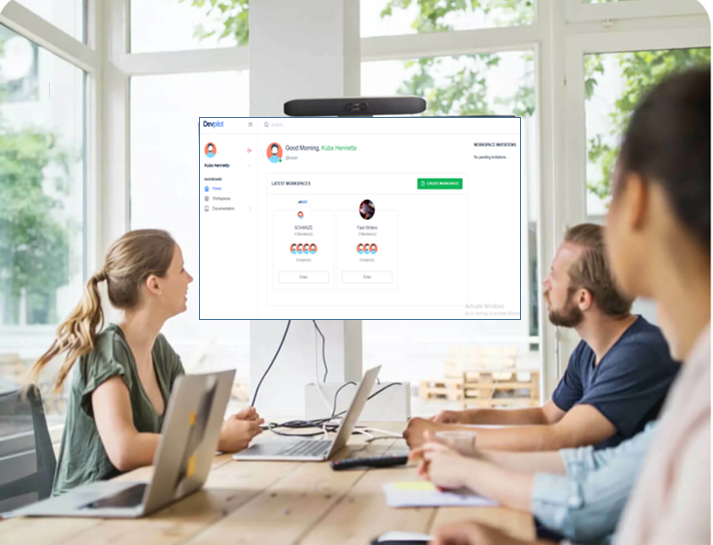
In this article, I’ll be introducing you to the Devpilot Dashboard and show you how to create a workspace on Devpilot. I’ll also be highlighting important features like servers, members, projects, and integration.
Table of Contents
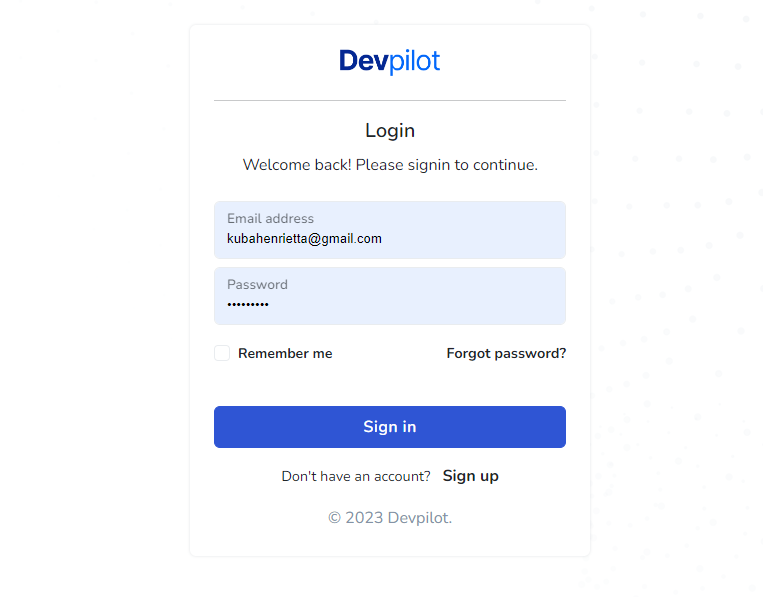
How to login to The Devpilot Dashboard
- Go to Devpilot’s official website
- Click on the Login button
- Enter your email address and password.
How to Create a Devpilot Workspace
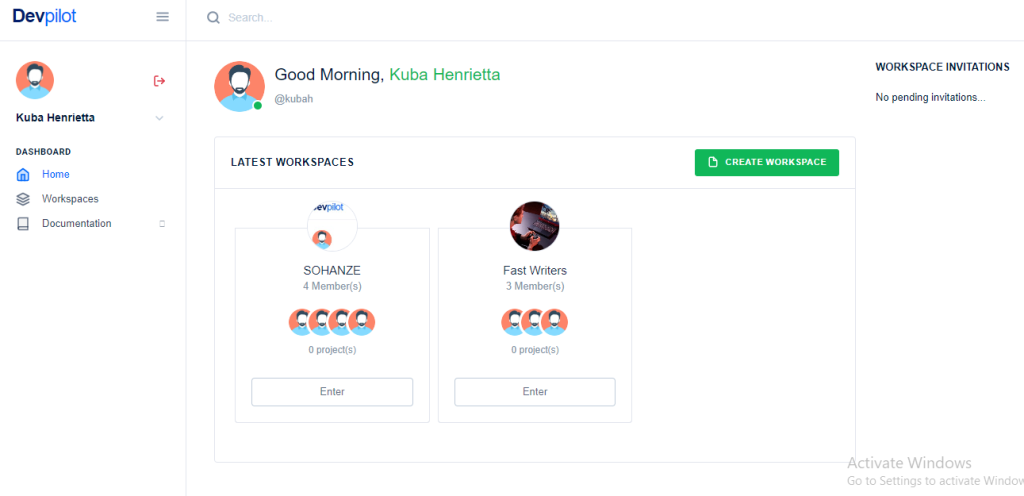
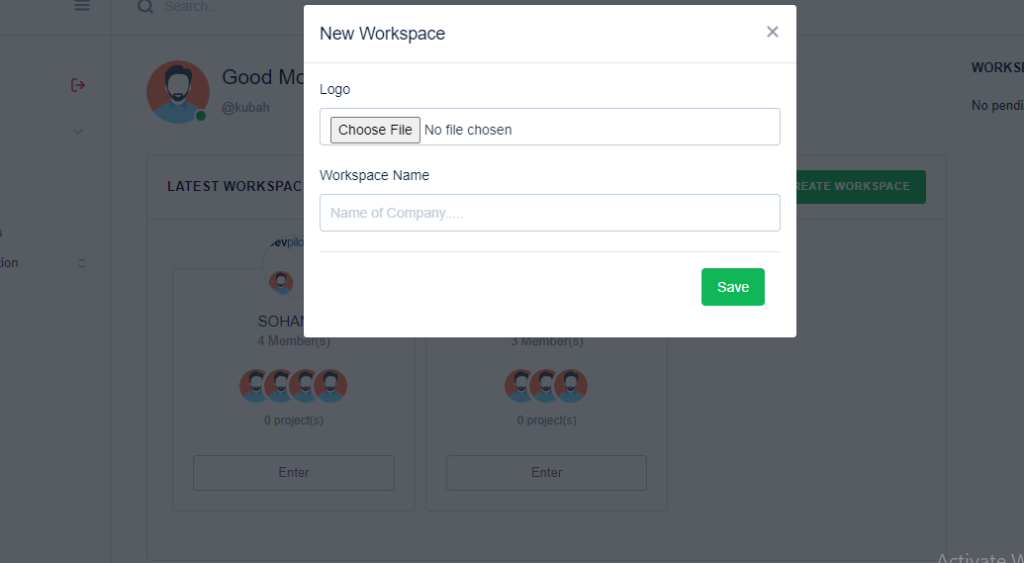
Once you’ve logged into your Devpilot account, do the following to create a Devpilot workspace
- Click on the create workspace at the top right corner
- Input company name and logo
Important Features on Devpilot Workspace
Creating a workspace on the Devpilot gives you access to useful tools that will allow you to manage your workspace. Below are the four important features of the Devpilot workspace:
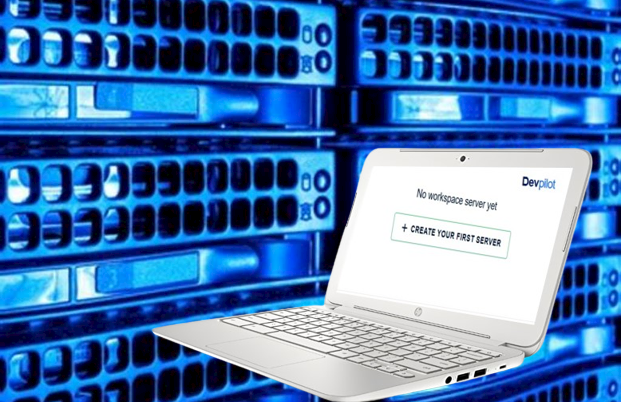
- Server: This feature allows you to add SERVERS on your workspace where you’ll host your PROJECTS
- Project: This feature allows you to add PROJECTS and if you’re on Devpilot premium plan, you can add multiple PROJECTS on Devpilot.
- Integration: This feature allows you to connect with other platforms like Github, Bitbucket, and Gitlab.
- Members: This feature allows you to add members to work with, assign roles to them and also delete members.
Now you have a proper understanding of the workspace and the key features, you can know proceed to learn how to add server, projects, and integrate Github, and how to add members to your workspace. See the resource below for more step by step guildes.

